What Does “Self-Healing” Mean in Yoga?
In yoga, self-healing is better understood as supporting the body and mind through regular movement, rest, breathing and attention. It does not mean that a yoga pose can diagnose, treat or cure a medical condition.
A good practice may help you notice tension, improve movement confidence and create a calmer routine. The effect depends on the person, the practice, sleep, stress, daily activity and many other factors.
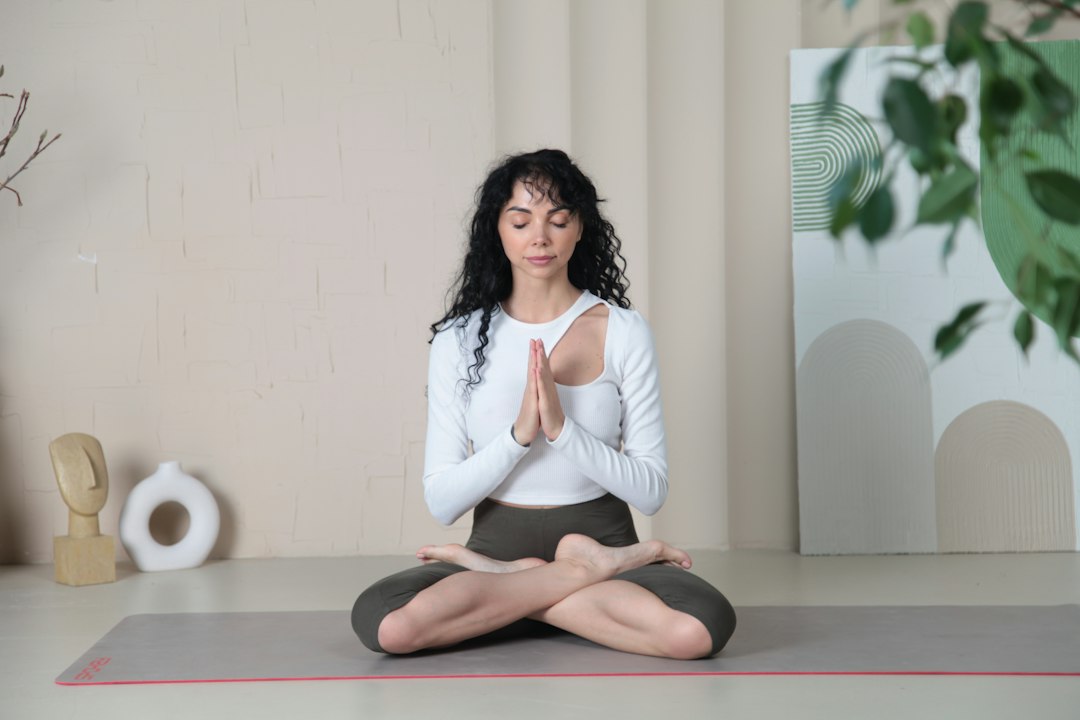
8 yoga asanas for self-healing support: a safe interpretation
Here, yoga asanas for self-healing means a general well-being routine, not a way to heal an injury or illness without care. Choose a few movements below rather than forcing all eight. Use a chair or wall when needed, and leave time for rest. The NCCIH evidence and safety review discusses what research can and cannot establish.
1. Cat-Cow Pose
Begin on hands and knees. Move slowly between a gentle spinal arch and a rounded back while matching the movement with your breath. Keep the range comfortable.
Practice focus: spinal movement, breath coordination and warming up.
2. Child’s Pose
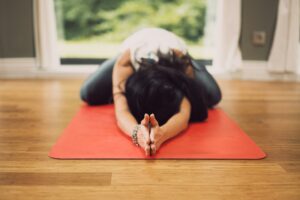
Kneel and bring the hips back toward the heels. Rest the torso forward and place the arms where they feel comfortable. Use a cushion if the knees or hips need support.
Practice focus: rest, slow breathing and reducing unnecessary muscular effort.
3. Cobra Pose
Lie on the abdomen with the hands near the ribs. Lift the chest gently without forcing the lower back. Keep the shoulders away from the ears.
Practice focus: gentle back extension and upper-body awareness.
4. Downward-Facing Dog
From hands and knees, lift the hips up and back. Keep the knees bent if needed. Lengthen the spine first instead of trying to force the heels down.
Practice focus: whole-body strength, shoulder control and hamstring length.
5. Bridge Pose
Lie on the back with the knees bent and feet on the floor. Press through the feet and raise the hips to a comfortable height. Lower slowly.
Practice focus: hip extension, leg strength and controlled spinal movement.
6. Warrior II
Stand with the feet apart, turn the front foot out and bend the front knee. Keep the knee moving in the same direction as the toes and the torso upright.
Practice focus: leg strength, balance and steady attention.
7. Tree Pose
Stand beside a wall if balance is uncertain. Place one foot against the ankle or inner calf, not directly on the knee joint. Keep the gaze steady.
Practice focus: balance, foot strength and concentration.
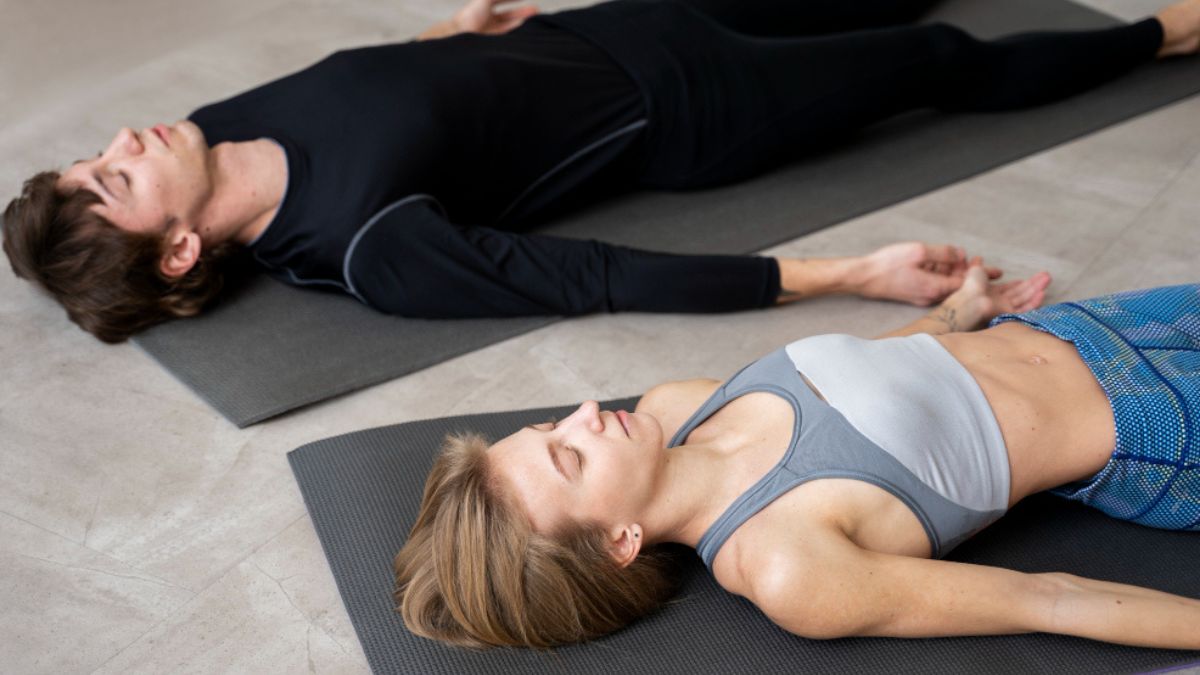
8. Savasana
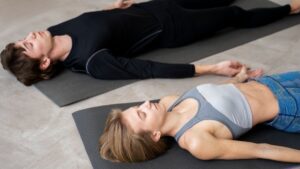
Lie comfortably on the back, or use support under the knees. Allow the breathing to become natural and remain still for a few minutes.
Practice focus: rest, body awareness and recovery after practice.
A flexible 15–20-minute sequence
The time depends on transitions, pauses and individual comfort. Start with fewer poses and increase only when the routine remains manageable. You can substitute supported sitting for any floor posture.
- Cat-Cow: 2 minutes
- Downward-Facing Dog: 3 slow rounds
- Warrior II: 30–45 seconds each side
- Tree Pose: 30 seconds each side
- Bridge Pose: 3–5 repetitions
- Child’s Pose: 1–2 minutes
- Savasana: 5 minutes
Move at a pace that lets you breathe normally. Stop if you feel sharp pain, numbness, unusual pressure, or dizziness.
How to Make Yoga Practice Safer
- Use a smaller range of motion when you are stiff or tired.
- Do not compete with photos or other students.
- Use props when they improve comfort and control.
- Build consistency before intensity.
- Tell the teacher about pain, injury or movement limits.
For related reading, see yoga for mind-body harmony, what asana means in yoga, and our 200-hour yoga teacher training in Rishikesh.
Frequently asked questions about yoga asanas for self-healing
Can yoga heal a medical condition?
Yoga should not replace diagnosis or treatment. Some programmes may support symptoms or well-being in specific populations, but that does not prove a pose cures a condition. Continue appropriate healthcare and discuss suitable activity with your clinician when needed. Use the term self-healing carefully: in this guide it means self-care through movement, attention and rest, rather than a clinical claim.
How often should beginners practise?
Begin with a short routine you can repeat comfortably, with rest between more demanding sessions. There is no ideal frequency for everyone. Check how you feel during practice and the following day. Reduce intensity if soreness or fatigue interferes with normal activity. Our weekly practice guide offers flexible ranges rather than a fixed prescription.
Should a pose hurt?
No. Effort and a mild stretching sensation can occur, but sharp pain, numbness, dizziness or unusual pressure are reasons to stop. Do not use deep breathing to endure a painful position. Return to a supported posture and seek advice when symptoms persist. A teacher can offer a smaller range or alternative, but cannot determine the cause of a medical symptom from a class.
Do I need advanced poses or strong pranayama?
No. Basic postures, natural breathing and quiet rest can form a useful practice. Avoid long breath holds, rapid breathing or complicated balances when you are unfamiliar with them. A demanding technique is not proof of greater benefit. Learn separately with suitable instruction if you want to progress. Keep health conditions, previous injury and your present capacity central to the decision.
How to choose your first routine
- Select three familiar movements and one comfortable resting position.
- Warm up with small movements and ordinary breathing.
- Keep enough time for transitions and props.
- Stop before pain or breath holding develops.
- Record what was comfortable, and adjust next time.
For an introduction to the philosophical meaning of posture, read what asana means. For everyday awareness rather than treatment claims, read yoga for mind-body harmony. Educational practice guidance complements suitable care; it does not replace it.